
1) 깃허브 웹사이트 확인 및 gif 파일 생성
1) 웹사이트 중앙에 위치한 사람 로고를 gif 파일로 변경하고자 한다.

2) 바탕화면에 레포지토리와 연동된 git 폴더 접속 > img 폴더 접속
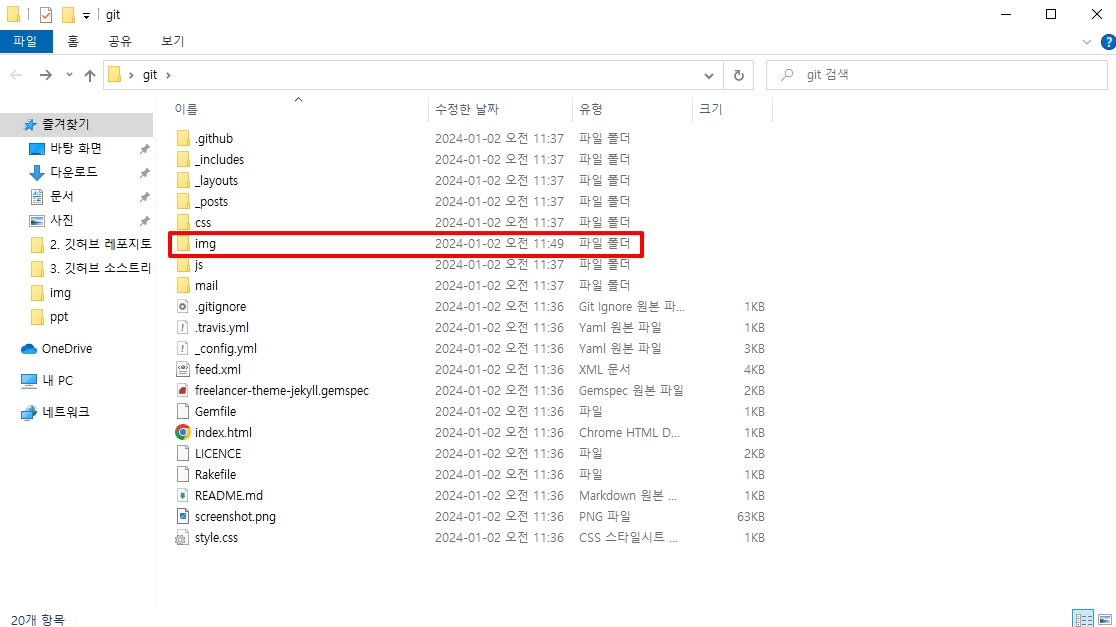
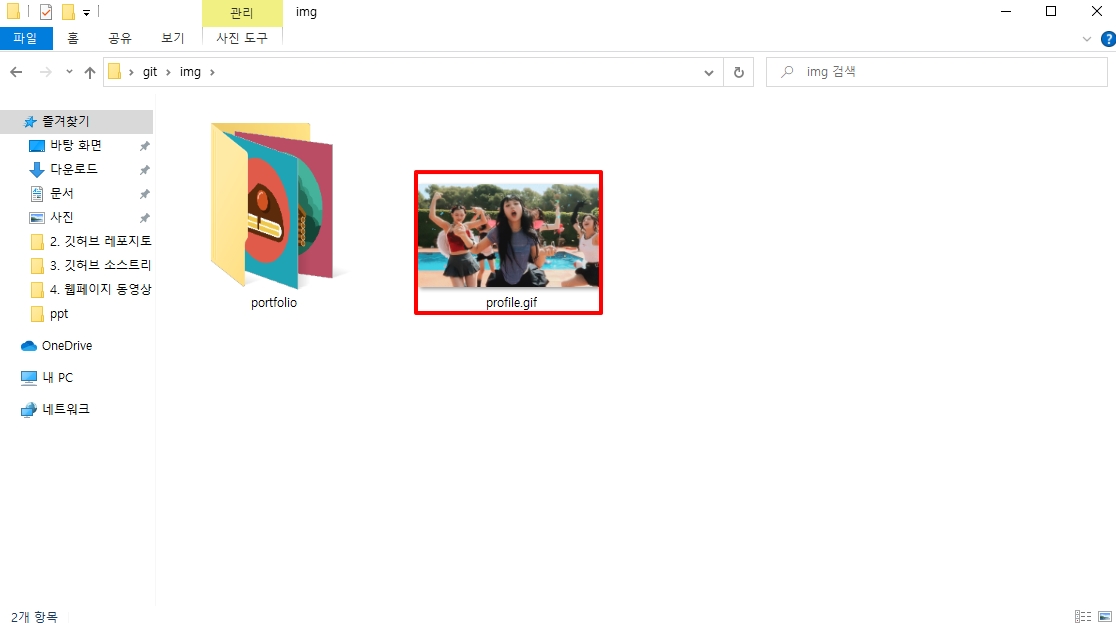
3) img 폴더 안에 업로드 하고자 하는 gif 파일을 넣어준다.
2) Visual Studio Code를 활용한 코드 추가
- Visual Studio Code를 활용하여 img 폴더에 업로드한 gif 파일이 정상적으로 나타날 수 있도록 코드를 작성한다.
- gif 파일에 대한 설정은 빨간색 표시친 부분이다.

<header>
  <div class="container">
    <div class="row">
      <div class="col-lg-12">
        <img class="img-responsive" src="img/profile.gif" alt="profile-pic" />
        <div class="intro-text">
          <span class="name">{{ site.title }}</span>
          <hr class="star-light" />
          <span class="skills">{{ site.skills }}</span>
        </div>
      </div>
    </div>
  </div>
</header>
3) gif 해상도 조정 및 업로드 확인
1) gif 해상도 조정하기
- 아래 링크에 접속하여 gif 파일의 해상도를 원하는 해상도로 조정해준다.
- 해상도를 재설정한 파일을 바탕화면 git 폴더 > img에 붙여넣기 해준다.
Animated GIF editor and GIF maker
Easy to use online animated GIF maker and image editor. Upload and edit GIF images for free. Create, crop, resize, reverse, optimize and split animated GIFs, cut and resize videos, WebP and APNG animations.
ezgif.com

2) 웹페이지 gif 업로드 확인
- 웹페이지에 gif가 정상적으로 업로드 되었는지 확인한다.

'깃허브(github)' 카테고리의 다른 글
| 깃허브 웹사이트 만들기(2) 소스트리(Sourcetree)를 사용하여 레포지토리와 내 pc 연동 및 웹페이지에 템플릿 적용하기 (0) | 2024.01.02 |
|---|---|
| 깃허브 웹사이트 만들기(1) 레포지토리 생성하기 (0) | 2024.01.02 |